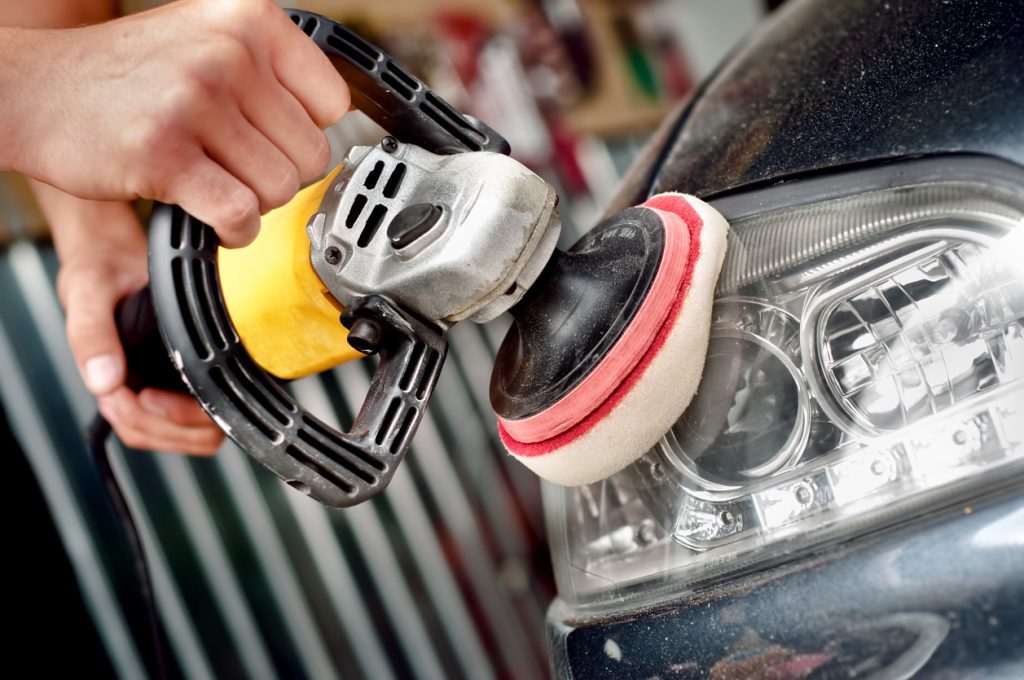
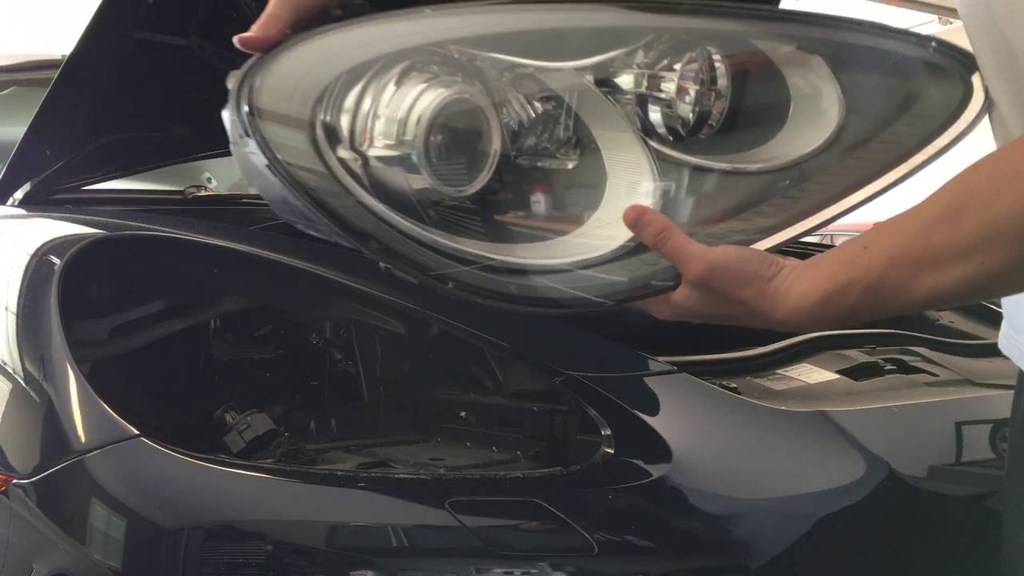
Your car has zero functionality if it doesn’t have its headlights. It is required by law for a car to have working headlights. So even if your car has the nicest set of wheels and a great engine, it won’t matter much as you won’t be able to drive it at all.
Is your car’s headlight functioning properly? Do you know how to replace headlights? This is a basic skill every car owner should have. And lucky for you this is a very easy process. Here is a step by step process of how you can remove a headlight bulb and replace your headlights.
What you will need for this process is the right type of bulb. Your local auto parts store will be able to help you with this. You can even find amazing online stores that give you fantastic discounts. You also need Alcohol wipes and a Phillips screwdriver.
First Step
First, you need to locate your car’s headlight holder. You need to access the headlight from under the hood rather than the front. Once you have the hood open you will see that there is a bulb holder on the front-end. Once you find the bulb holder you will see wires are connected from it. Then you move onto the next step.
Second Step
The power wires are attached to the bulb by a plastic latch or metal clips or a screw cap on the holder at the base of a headlight. The fasteners for the bulb, to be honest, depends on different models and makes of the car.
Push down on the lever of the plastic latch and pull the bulb from the plug. If your car has a metal clip then you need to pull up and away. Make sure that you are holding onto it securely as you are pulling it. If your car has a screw cap then you can just unscrew the cap by twisting it counter-clockwise.
Third Step
Now it’s time for you to remove the old bulb. Once you have disconnected the wires you should easily be able to remove the old bulb. In some cases, you might need to hold down on the bulb holder so check before you start pulling at the bulb.
Fourth Step
You need to make sure that there are no spots on the bulb. This may create hot spots which can affect the bulb and even cause it to burn out. Make sure you wear gloves or use a towel when handling the bulb. Additionally, you should rub the bub gently with some alcohol for some added safety measures. Once the cleaning is done you are ready to install the lights. You need to stick the bulb in the holder and make sure it has been fitted in properly.
One way to make sure it was fitted in properly is to check if the rubber gaskets are showing. If you have installed it properly none of the gaskets will be visible. After that connect the power wires and turn the lights on to see if the connection was correctly done or not. Once you confirm that everything was done right you can close up everything and take your car for a test drive.
Maintenance is Crucial

One way for you to ensure the longevity of your headlights is to maintain good car cleaning habits. There are DIY cleaners you can follow for your car that will make the lights shine like new. And when you need to replace your car’s headlights you can follow these steps.
Additionally, you can even change the car’s headlights from halogen to LED headlights if you desire. You just have to make sure you are following the right process and steps when doing these things.


